Roast Chicken with Roasted Vegetables and Mushrooms
…for all the traditional food lovers!
I prepared my staple hearty peasant roast chicken for the first time when I was quite young, about 17 or 18 years old. Old English cookbooks helped develop this recipe. When I made it the first time, I felt childishly happy. It seemed like such a delicious and hearty meal that created a sense of pleasure. As so, it has remained in my memory, and I have not been disappointed in the following times either. Somehow I got it exactly right immediately, with no additional recipe testing necessary.
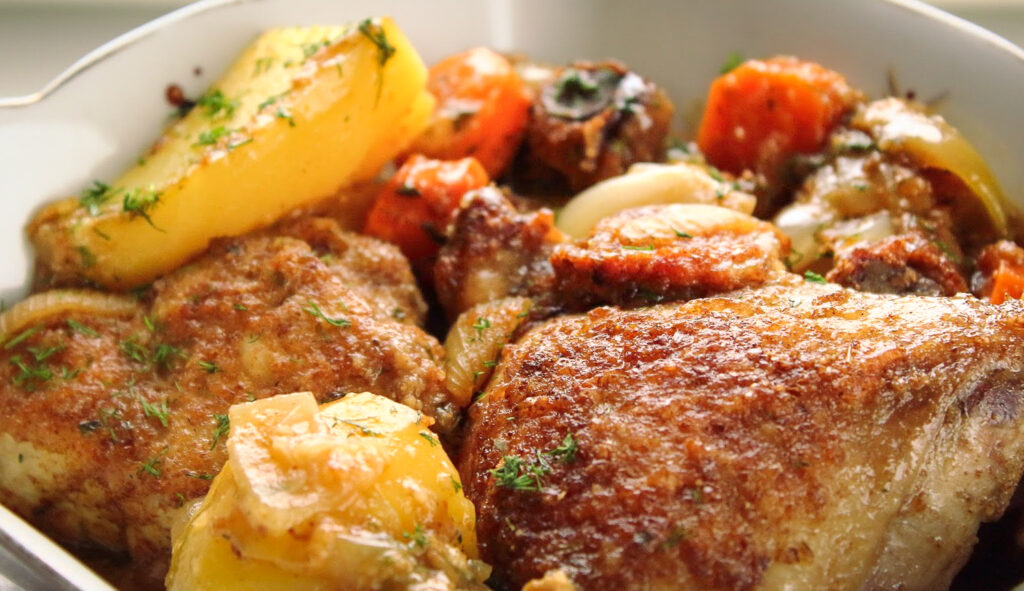
If compared to some old pretty calorie tense peasant recipes, I only slightly changed the amount of fat used (which otherwise would have been colossal). Also instead of butter, I this time used clarified butter, or “ghee”. It is a product developed within the traditional Indian health science of Ayurveda, close to my heart. I will not write more about ghee now, but you can find a lot of information about it on the Internet. For example here: Ghee. Of course, you can also use butter or oil of your choice. Can’t stop myself mentioning that butter would definitely be better choice in this recipe than vegetable oil. Both butter and ghee give this dish a special mouth-watering character.
What’s the second secret ingredient to an unforgettable roast chicken? Let’s find out! I can give you a hint that it’s another type of meat….
Yes, your answer is correct: it’s BACON! Bacon gives extra smokiness and another type of fat to the whole and it’s needless to say that it just goes SO well together with mushrooms.
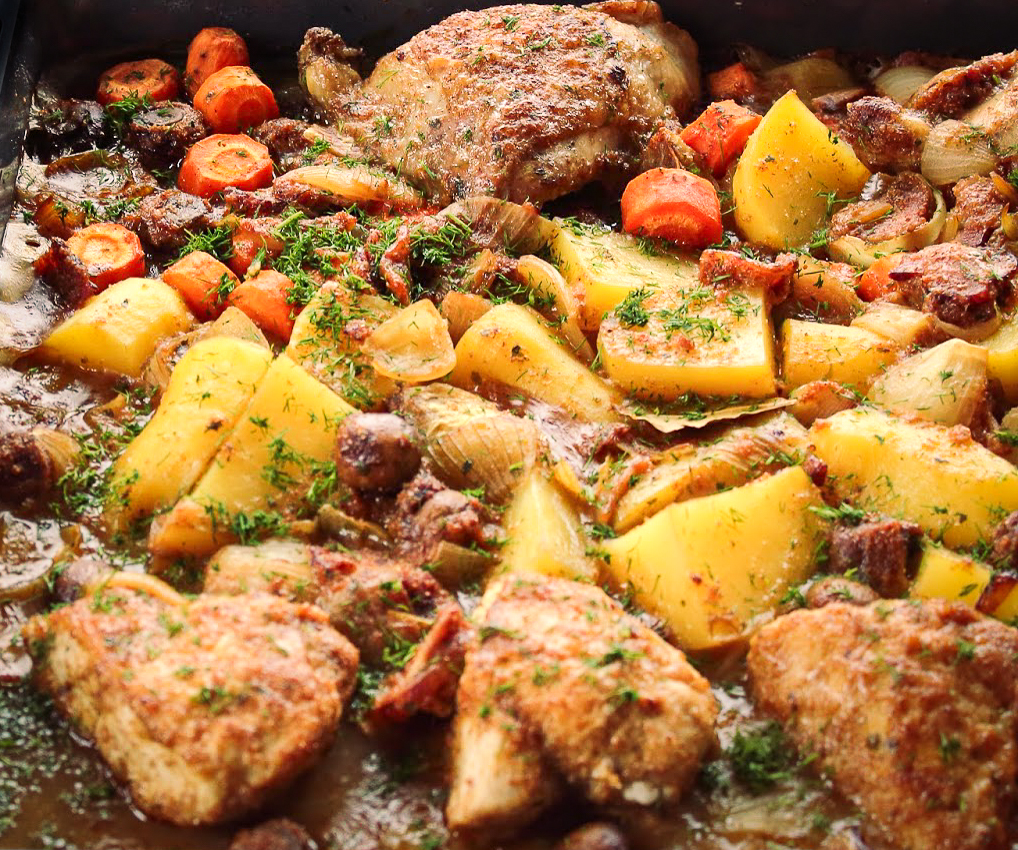
Hearty Peasant Roast Chicken is a comforting dish rooted in tradition and flavor.
The roast combines tender, juicy chicken with rustic vegetables and whole mushroom buttons. Season the chicken with spice mixes that contain garlic and paprika. Finish it with fresh herbs, such as parsley and dill. Add a bay leaf before roasting to create a hint of classic traditional flavor. Root vegetables, such as potatoes and carrots that are roasted alongside, absorb the rich juices and adding a sweet contrast. Cut them into large chunks and spread them in the roasting pan next to the chicken (follow the instructions below on the recipe card).
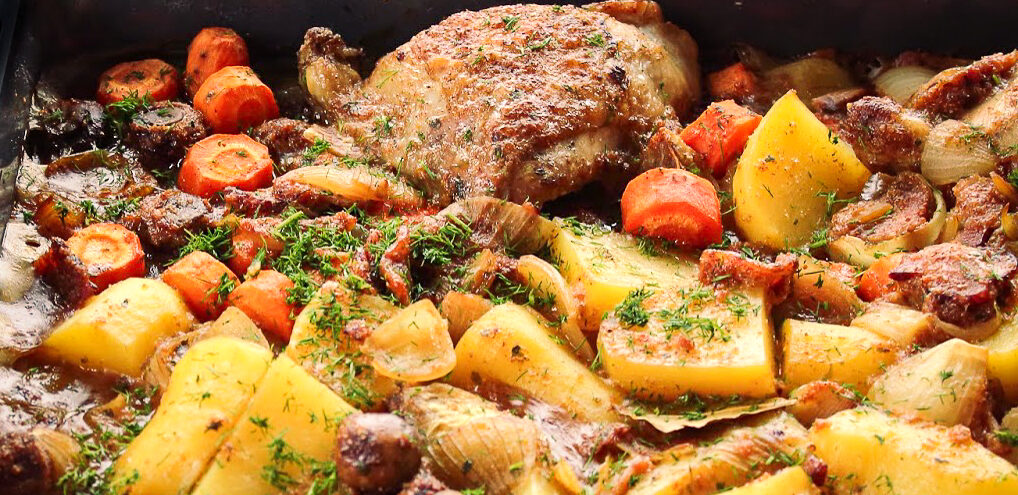
For seasoning, I mainly used a natural chicken seasoning with garlic. There are many options on the market, a great one for example is Marion Kay Garlicy Chicken.
One more trick: traditionally, refined white wheat or corn flour thickens liquids in dishes, but I recommend whole wheat flour. I have used whole grain wheat, rye flour, buckwheat flour, and various other healthy flour when thickening sauces. In addition to the nutritional value, they add a lot of extra earthiness to the taste!
Perfect pairings for this roast:
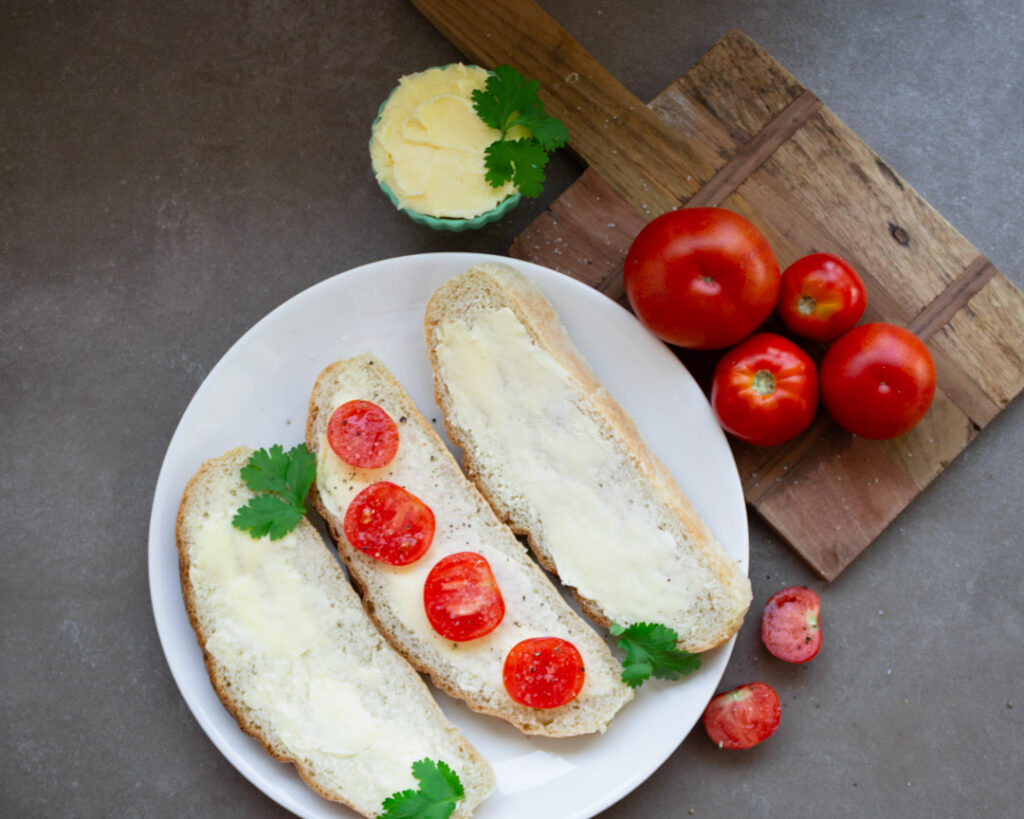
The Peasant Roast Chicken goes well with freshly baked rustic bread. If it feels too overwhelming, then of course you don’t need to bake the bread yourself. Just grab it at the nearest small local bakery and support the makers who get up at 3-4 a.m. to bake bread for us! The juice that is extracted from these delicious ingredients, especially the chicken, is so irresistible that you just need a delicious sponge to soak it up with.
I often turn people’s attention to the fact that, if possible, they should use organic ingredients, especially meat. I’m not a vegan, but I would still like my protein to be cruelty-free.
However, I completely understand that it is much more expensive. If you can’t afford it, then it is what it is, and you shouldn’t blame yourself for it. The most important thing is that you eat well, cook as much as you can, and do your best to include a variety of natural food categories and at least 50% local produce. If you do that, you’re a winner anyway!
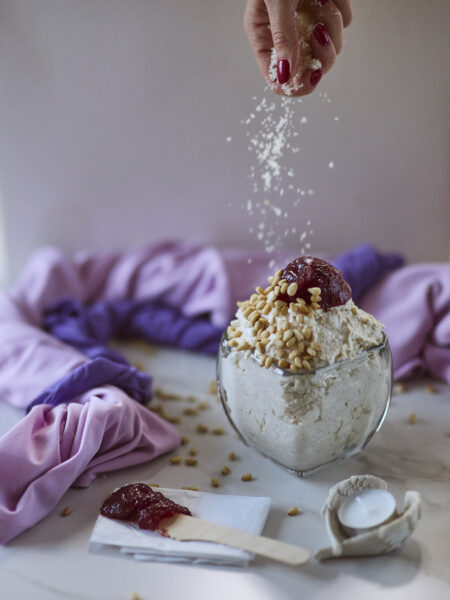
This meal is rich, especially if you add bread as well. If you serve it as a family dinner or for your guests, you might want to have a lighter and lower-carb dessert, such as my: Roasted Oatmeal Mousse!
One thing that I often encounter in recipes, both online and in books and cooking shows, is that the preparation times are stated very boldly. Usually, a beginner cook needs twice as much active time for prepping the food than the recipe promises. Even I often take longer than the given times!
Therefore, in this blog, I have tried to be realistic about the recipe times because I know the frustration of discovering that you will never get your dish ready by the time you had counted on. Maybe you have guests coming or, even worse, hungry kids waiting…
Two hours for this roast chicken is a beautifully relaxed cooking time, and you don’t have to worry about the clock!
Hearty Peasant Roast Chicken
This one-pan meal fills the belly and warms the soul, making it perfect for family gatherings or cozy dinners. Its simple preparation makes it accessible, while the satisfying taste keeps everyone returning for more. It combines soft chunks of root vegetables and crusty potatoes with falling-apart crispy skin chicken and plump whole small mushrooms. It’s a one-pan dish and therefore super easy to make: no overwhelming technique is required. Let's dive into how to make this mouthwatering dish, starting with the ingredients you'll need.
INGREDIENTS
You will need one large baking pan or tray with high edges, a skillet for pre-frying, and a large piece of foil.
INSTRUCTIONS
As stated in the ingredient section, if the potatoes and carrots are young, then don't peel them, just wash thoroughly - the peels add both to the flavor and your health!
-
Preparing the veggies
Peel the potatoes and carrots if necessary (read the note above). -
Preparing the onions
Peel the onions. -
Preparing the oven
Preheat the oven to 200 degrees. -
Preparing the chicken coating
Mix the flour with the chicken seasoning, salt, and pepper and spread the mixture on a plate. -
Frying the chicken to get a crispy skin
Cut the large chicken fillets in half to make them more or less uniform, plump pieces. Now roll all the chicken pieces in the spice-flour mixture. Heat a pan with ghee or butter on the stove and brown the chicken pieces on all sides. Place them in a baking pan to wait. -
Preparing the bacon
Now cut the bacon into large square pieces. -
Cutting the onions
Cut the onions into quarters. -
Preparing the mushrooms
Do not cut the mushrooms at all, provided they are small. The idea is to make a rustic oven dish with large pieces. Rinse them though to get rid of any dirt and dry thoroughly patting with kitchen towel
-
Chopping the vegetables
Also, chop the potatoes and carrots into oblong pieces for the potatoes and thick slices for the carrots. -
Frying the condiments
Fry the bacon, onion, and mushrooms in a pan for a few minutes, using the fat from the bacon. Add the flour leftover from rolling the chicken to the pan, lower the heat, and thoroughly mix everything in the pan with the flour.
-
Preparing the stock liquid
At the same time, boil water in a pitcher and pour it over the stock cube in a separate pot. Mix well; there is no need to boil, as the cube dissolves in hot water. If you're using a ready-made stock, then of course skip this step and instead of it just heat the stock until hot. -
Seasoning
Slowly pour the prepared stock into the pan, stirring constantly. Add paprika and black pepper, and check the saltiness, season if needed. -
Ready to go to the oven!
Place the potato and carrot pieces in the pan next to the chicken, and then pour the prepared sauce mixture over the bacon and mushrooms. Add the bay leaf to the pan as well. -
Baking
Bake for about 40 minutes in the center part of tehe oven, covered with foil and then 20 minutes without foil. I use the oven mode, which heats from both top and bottom for this dish. -
Evaluating the consistency
When you remove the foil, you can see if you like the consistency of the roast; if you want a more liquid stew, add hot water little by little.
-
Ready for serving!
When the roast is ready, remove the bay leaf, let the chicken rest as described in the helpful notes below, and sprinkle with chopped parsley and dill before serving, or choose your favorite herb. Have a fresh crusty homely bread on the side.
Note
Basting for Juicy and Flavorful Meat
Use a meat thermometer to check the thickest part of the thigh. Aim for 165°F (75°C). This guarantees juicy, perfectly cooked chicken.
Every 20-30 minutes, scoop the pan juices and drizzle them over the chicken. This keeps it moist and flavorful.
Preventing Dry Chicken: Mastering the Art of Resting
After removing the chicken from the oven, let it rest for at least 15 minutes. This helps the juices redistribute, keeping every bite succulent.
Creative Leftover Ideas: Salads, Sandwiches, Soups
Don't let leftovers go to waste! Chop up the chicken for a hearty salad or add it to a sandwich. You can even simmer it into a comforting soup.
Keep leftovers in an airtight container in the fridge for up to four days. Reheat gently in the oven or microwave to preserve texture and flavor.
